
How to add more locations
Adding a Location to an Account as a Reseller
If you have a client that has more than one Location, there will come a time when you need to add a new Location to their Account. Instead of creating a new Account, you simply add the new Location to the existing Account.
Visit your Fusion WiFi Reseller Portal by visiting http://dashboard.fusionwifi.com and login using your credentials. On the left panel, select Accounts. Your list of Accounts will show here,
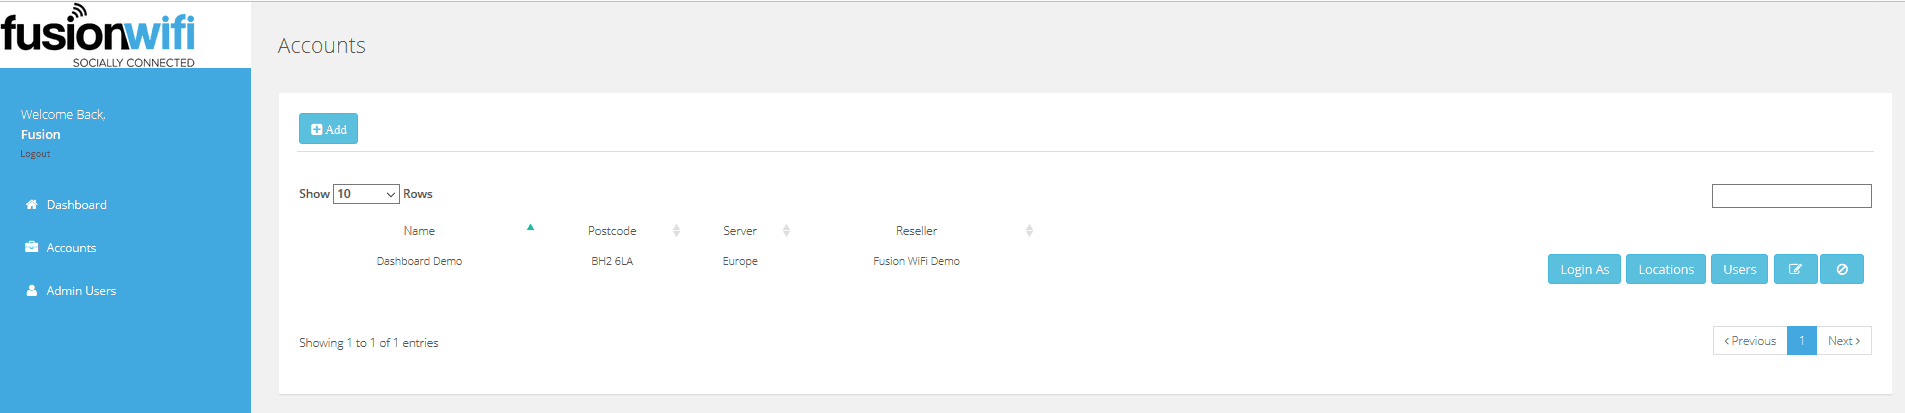
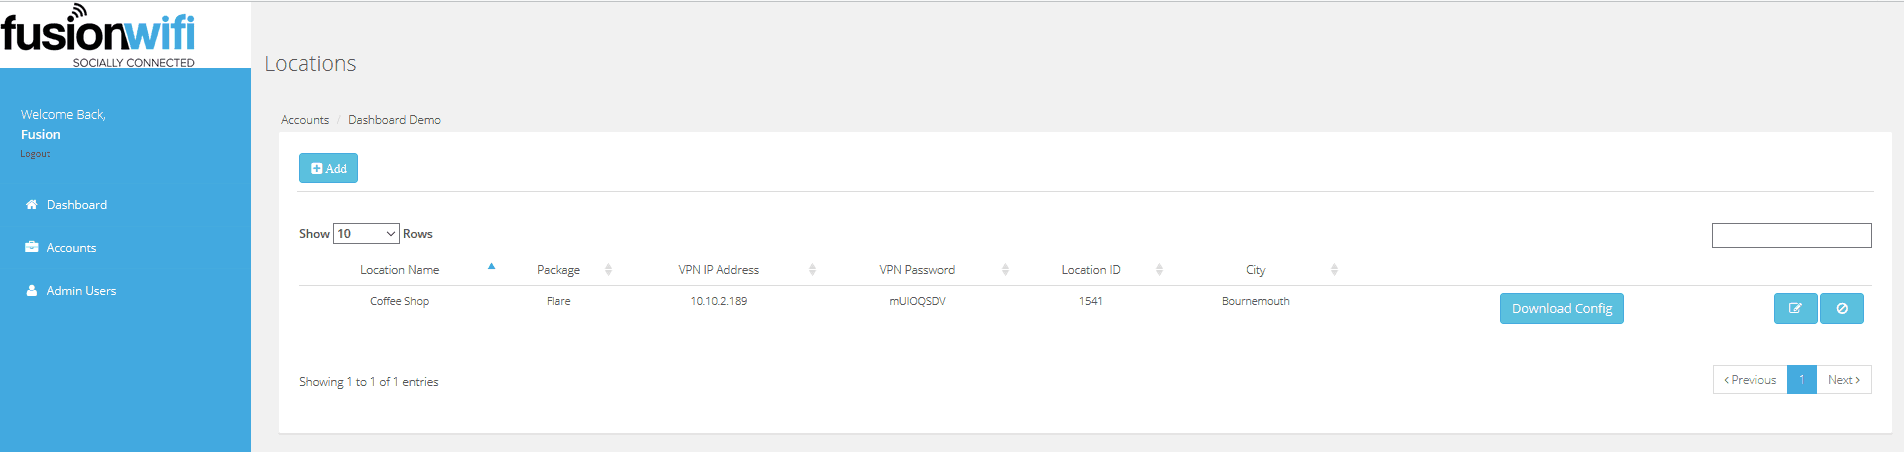
Click on Locations button that pertains to the account you wish to add to. You will now see all the Locations which are associated to the Account
To add a new Location, click ‘Add’ in the top left of the page.
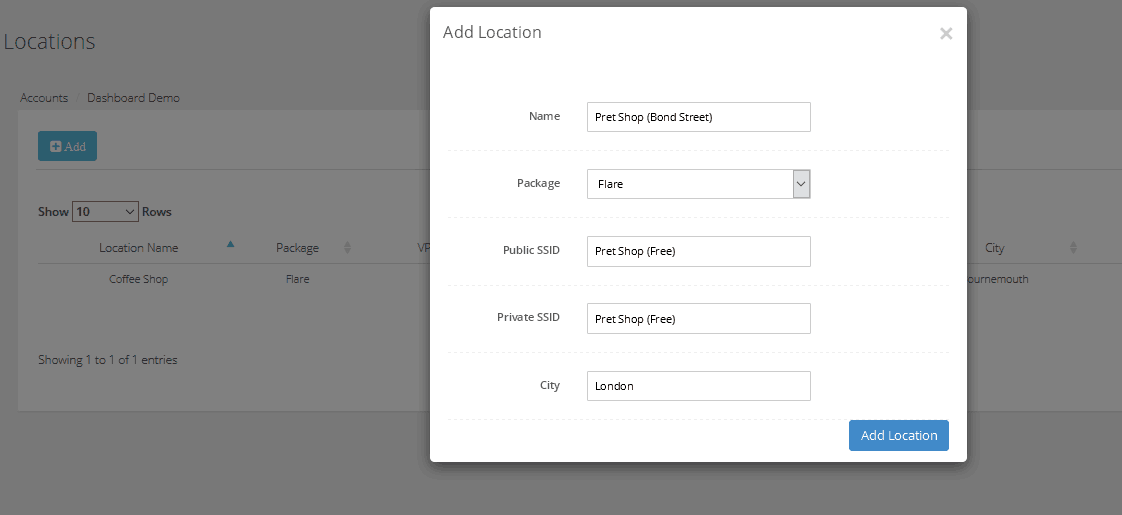
An ‘Add Location’ box will appear, where you will be asked for information about the Location that you are adding for that Account.
Populate the information that is requested following the below rules,
Name – Location Name (Example: 5th Avenue)
Package – Always select ‘Flare’
Public SSID – The name of the network you wish customers to see
Private SSID – The name of the network you wish to be password protected for staff
City – The city or town that the location is situated
Once complete, click Add Location.
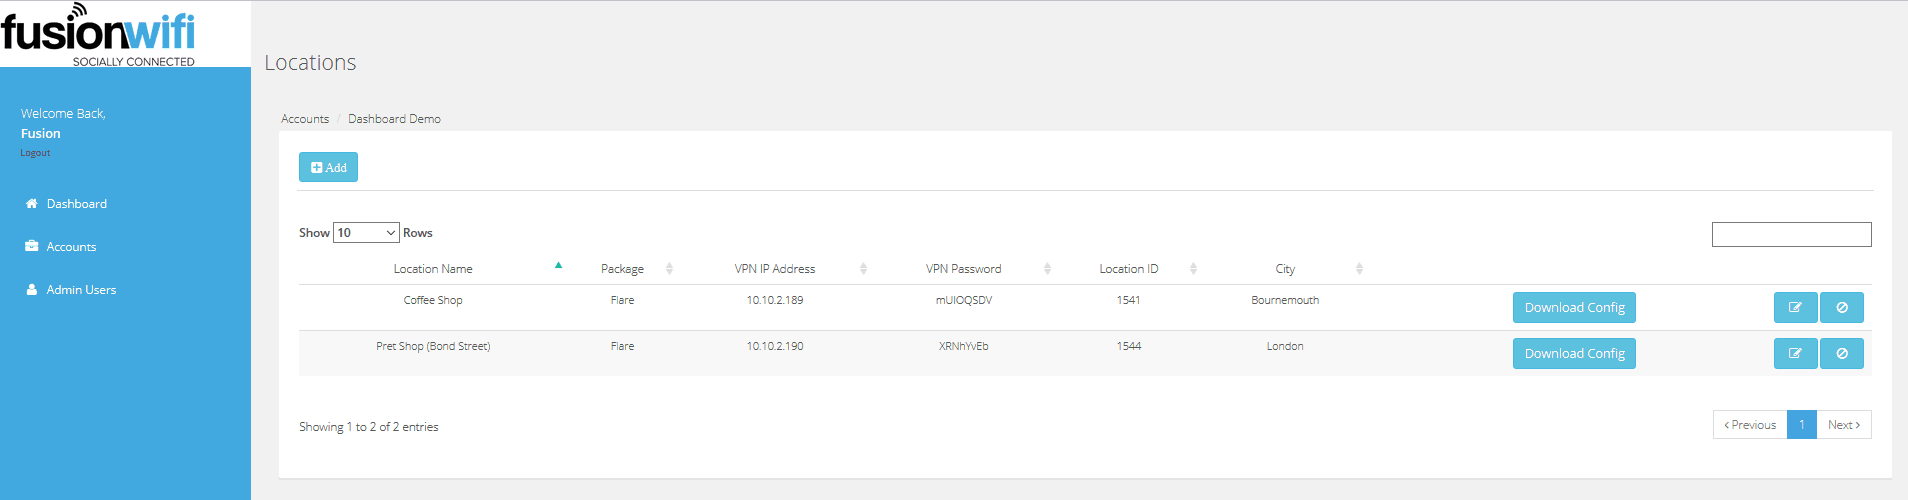
You will now see the new Location listed in the Locations page for your Account.
Now you have created the Location, you will need to add the Locations WiFi branding. For guides on how to do this, click here.