
Adding a new Account as a Reseller
When you acquire a new client wishing to subscribe to the Fusion WiFi system, you will need to add them to the Fusion WiFi portal and set up their branding. This is a nice and easy process.
It’s important to understand the difference between an Account and a Location. An Account is the Parent of the Locations. So, if you have a client with Multiple Locations, the business name will be the Account, and their separate locations will be stored within that account.
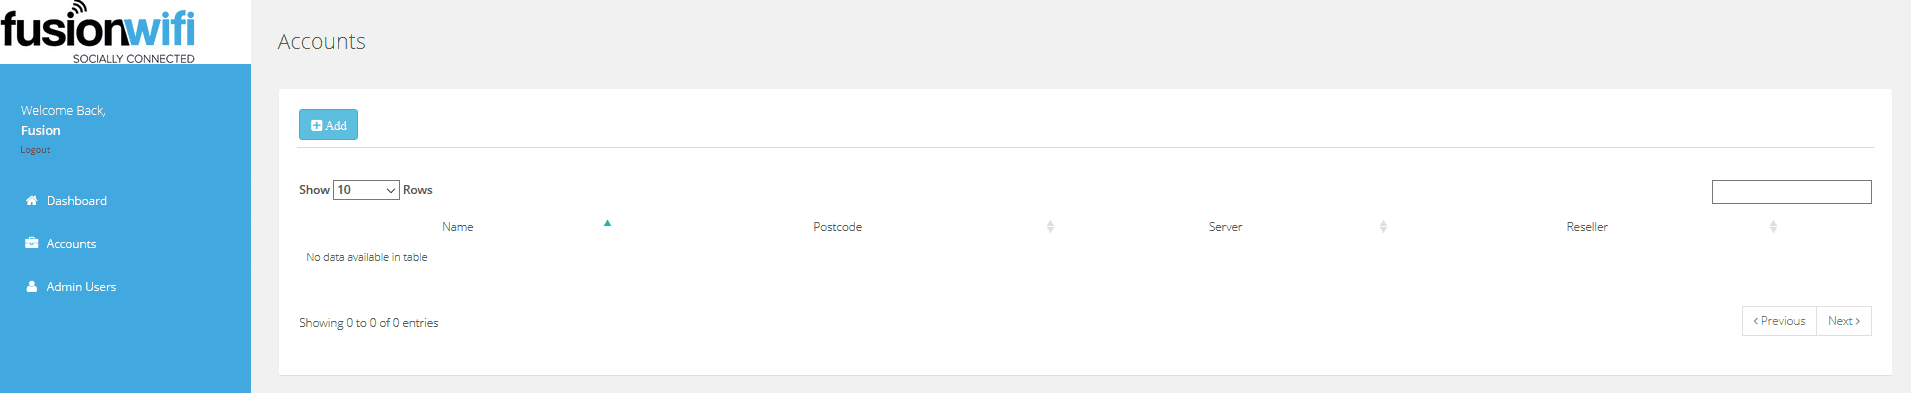
Visit your Fusion WiFi Reseller Portal by visiting http://dashboard.fusionwifi.com and login using your credentials. On the left panel, select Accounts. If you already have Accounts, these shall be listed on this page.
When adding a new Account, click ‘Add’ on the top left of the page.
An ‘Add Account’ box will appear, where you will be asked for the name of the Account and the Post Code or ZIP Code of the business Head Office. Once added, click Next.
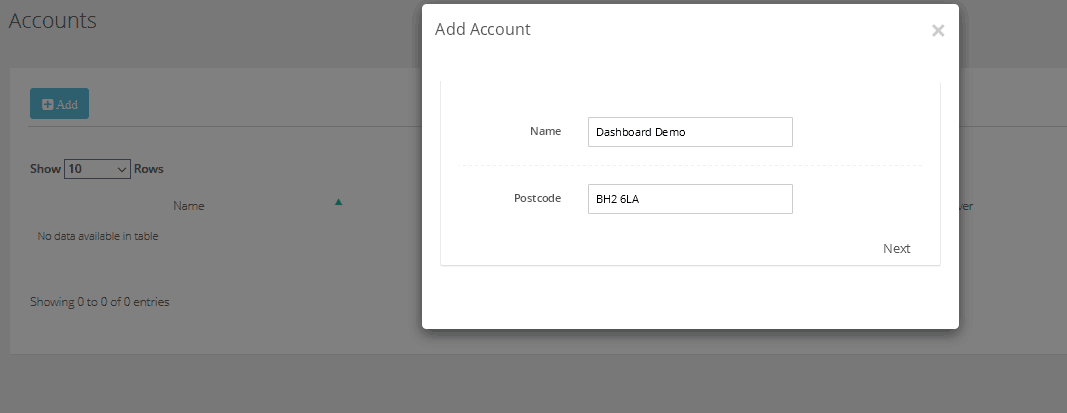
You will be taken to a new page that requests information about the Location that you are adding for that account. Note: You cannot add an account without adding a Location.
Populate the information that is requested following the below rules,
Name – Location Name (Example: 5th Avenue)
Package – Always select ‘Flare’
Public SSID – The name of the network you wish customers to see
Private SSID – The name of the network you wish to be password protected for staff
City – The city or town that the location is situated
Once complete, click Next.
You will be taken to a new page that requests information about the User that will have access to the Account dashboard. This is the access for the point of contact at your clients’ business. As a Reseller, you will also have the ability to log into your client accounts.
Note: Always select Type to be Manager at this stage.
Note: Best practise is to set a Password on behalf of the client and ask them to do a password rest to gain their own access.
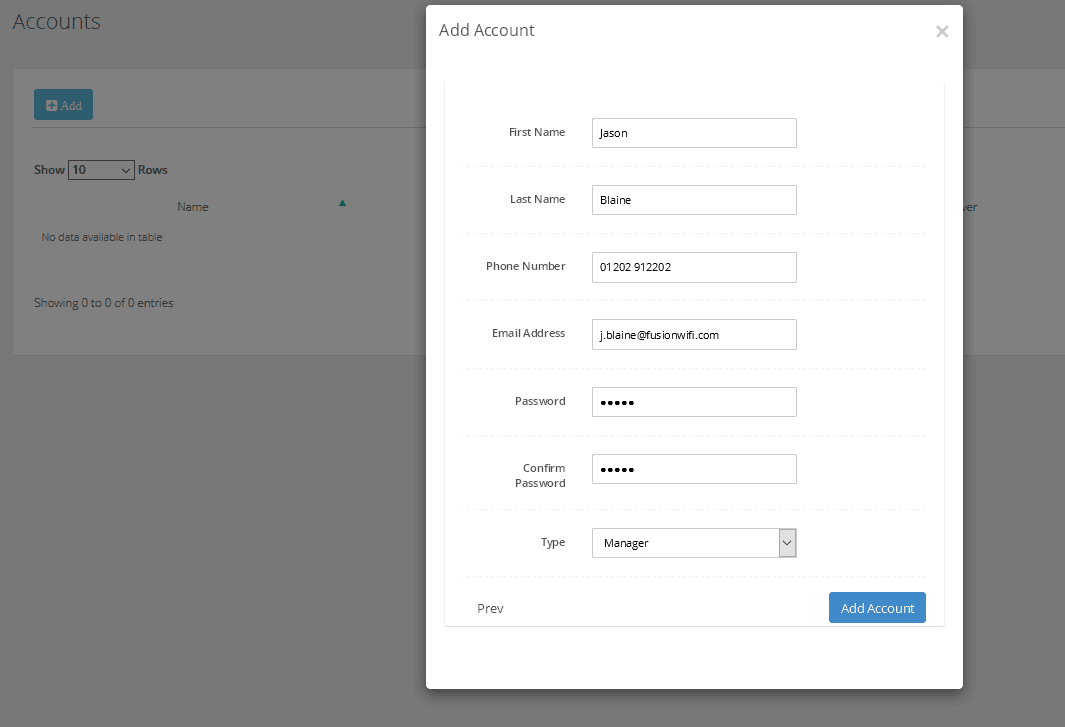
Once completed, click Add Account.
The Account shall now be listed on your Accounts page with five buttons to the right,
Login As – You can login to the Account as if you were the Account Manager
Locations – This will list all the Locations within the Account.
You also add further Locations within this function.
Users – This will list all the Users within the Account.
You also add further Users within this function.
Notepad Icon – Edit the Account
Stop Icon – Delete the Account. You do not have the ability to delete Accounts however.
Contact Fusion WiFi support.
Now you have created the Account and your first location, you will need to add the Locations WiFi branding. For guides on how to do this, click here.
For guides on how to add more Locations, click here.